Sunday 10 March 2013

Breakfast specials


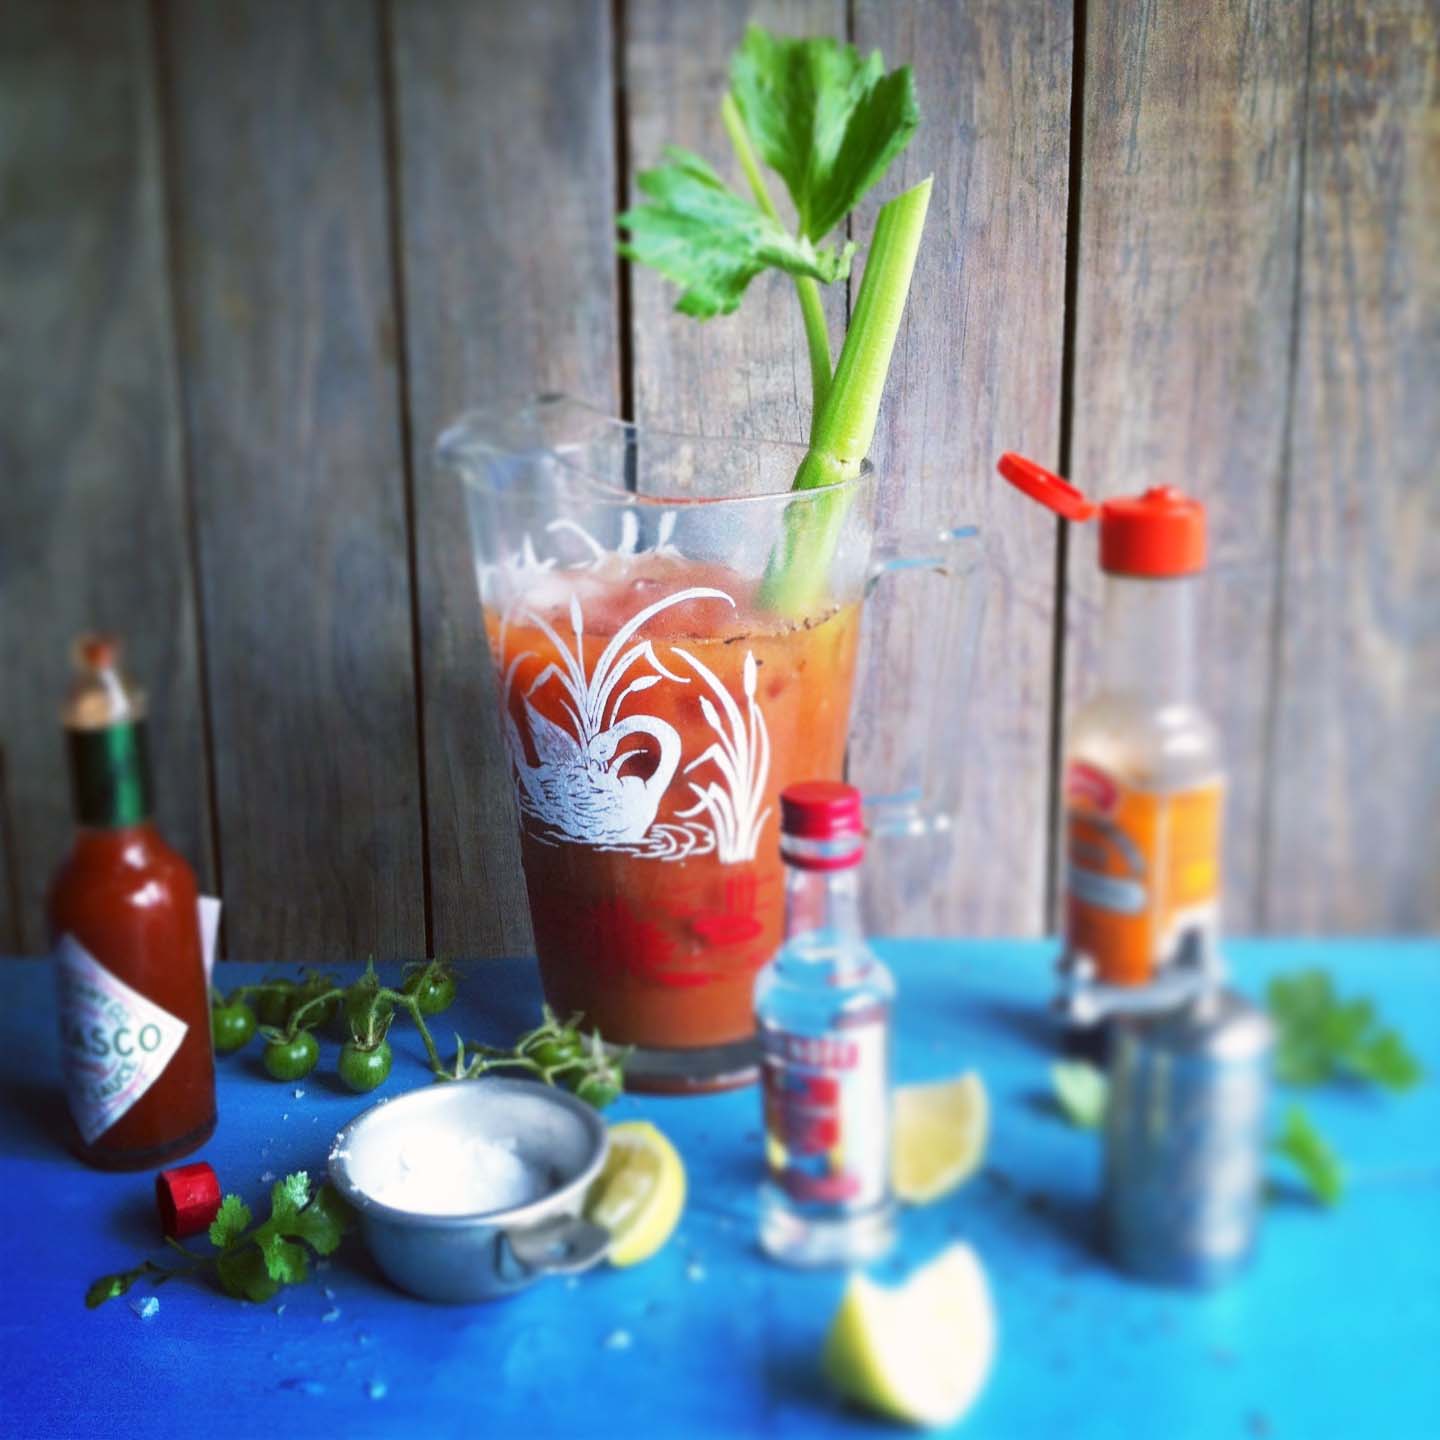
Gazpacho Bloody Marys
This is a hedonistic version of “green juice”, give and take a few ingredients, some equally healthy and delicious, some less healthy but more delicious (and obviously it's red, not green). That’s a good trade off, I think.
It’s important to remove the skin from the cucumber and not juice any of the celery leaves, which I would normally do. The reason for this is the colour. You don’t want the green juice element of the drink to be too green or you will end up with Mary that doesn’t look half as Bloody and she should.
Worcestershire and tobasco sauce and vodka I leave up to you, I’m sure you all know how you like it spiced. The Gazpacho “juice” I used instead of tomato juice is available at most big supermarkets, it is imported and seriously glugable just as it is. If you can’t find it, just opt for good old tomato juice in the can or box. But one thing that is completely essential is the ice – you cannot drink a Bloody Mary without the glass being at least half full of the stuff. Don’t ask me why, it’s just has something to do with texture and flavour and how all the ingredients hang together.


Recipe:
2 long celery sticks (sans leaves)
½ cucumber, peeled
½ fennel bulb (not to many green bits)
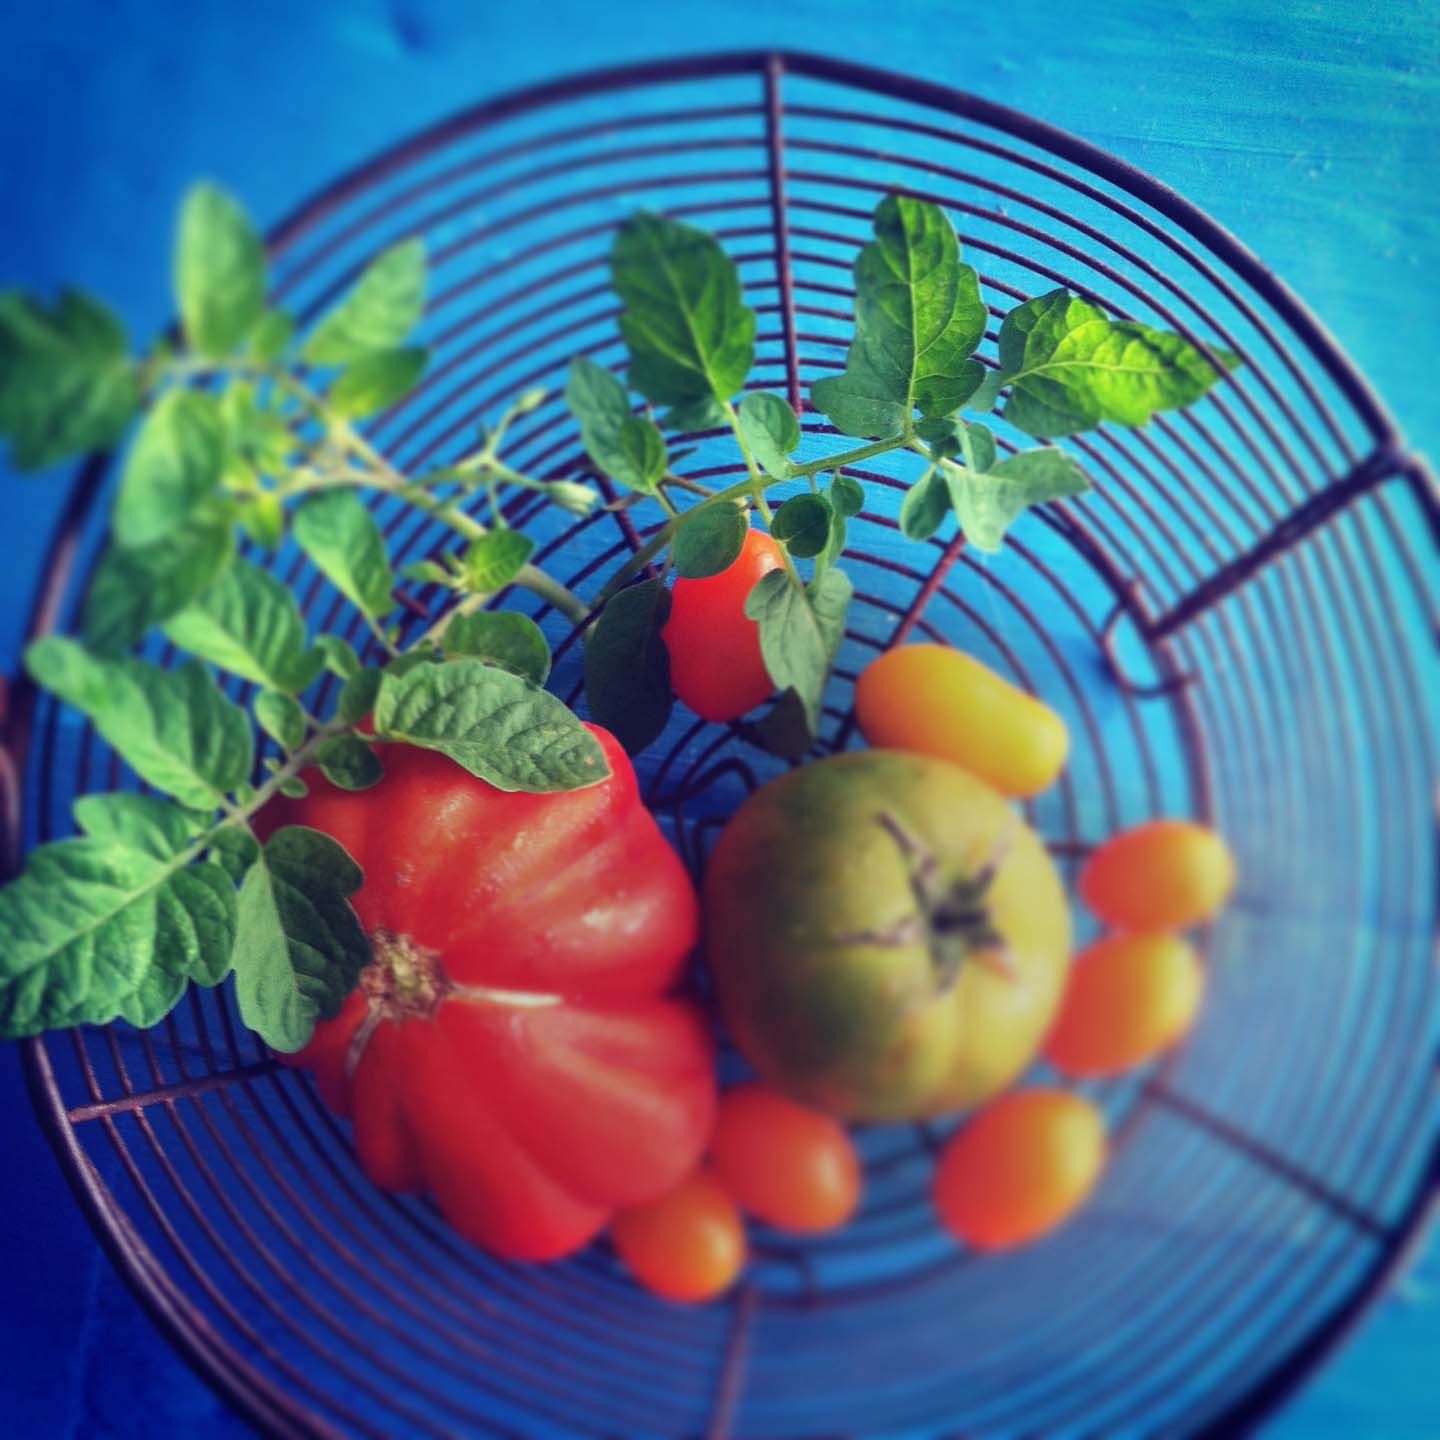
2 big beefy tomatoes
1 L Gazpacho or tomato cocktail
fresh lemon juice, to taste
vodka (optional)
sea salt flakes and fresh black pepper
tobasco
Worcestershire
Lots of chunky ice blocks

Enough for 4

Put the celery, cucumber, fennel and tomato through a juicer and pour the pale green liquid into a jug. Top up with gazpacho or tomato juice and stir well. You can either add the vodka now or add it to your serving glasses, which ever you choose, now is the time to add your ice, and lots of it, to glasses and jug. Season the gazpacho with plenty of salt, pepper and lemon juice then pour into glasses. Allow everyone to season their drinks with more salt, pepper and lemon juice if they wish, and then to spice it up with tobacco and Worcestershire sauce.


Egg, tomato and chorizo rolls
It’s quick; it’s easy and, well, looks and taste pretty impressive too! All my favourite things on a good, chewy sesame roll, with a little avo thrown in for good measure, for me this is breakfast heaven.


Recipe:
4 crusty sesame rolls (or whatever you prefer)
olive oil
4-8 best quality free-range eggs
1 long chorizo sausage, sliced
2 ripe red tomatoes or mixed tomatoes, sliced
1 ripe avocado, sliced
2 handfuls of rocket
salt and pepper
and, tomato sauce (for those that are partial to the practice)

makes 4

Half the rolls and toast the cut sides under a hot grill. Glug a generous amount of olive oil into a good non-stick pan and fry the eggs to your liking (I like mine crispy around the edges with the white just set on top and yolk rather runny). Remove and drain on kitchen paper and keep warm while you fry the sausage.
Drain some of the oil from the pan and fry the sausages quickly over high heat, you want them to crisp around the edges but not to cook so much that the render to much fat and become dry. Leave them in the pan, off the heat for a moment while you build the buns.
Top the buns with rocket, avo, tomato and an egg or two each. Then spoon over the undrained sausages (there’s tons of flavour in the oil so don’t drain it off). Give it a good grinding of pepper and season with salt. Serve with a little tomato sauce on the side.


Monday 25 February 2013

tray bake cup cakes with cream cheese and lemon icing


I’m not a big fan of baking. I think it has something to do with the amount of cleaning and fiddly business that goes with it. There’s a lot of measuring this and weighing that, and this makes me completely obsessive. I find myself glued to the recipe, completely paranoid that I’ll miss a step. It completely freaks out my inner child and crushes the wild abandonment that usually accompanies my cooking.
That said, the picture on the box of Nomu’s (yes, those are the folk from the spices and other yummies) new recipe cards had me completely floored! I just had to make those delicious looking vanilla sponge squares. They were thrilling my inner child more than freaking her out. I just had to try them!
So here they are with a few twists and tweaks, enjoy.


Hot milk tray cake with cream cheese and lemon icing
(Okay, so the tweaks are as follows: I used spelt flour instead of wheat flour and I replaced their vanilla butter icing, which I am sure is divine, with cream cheese icing with a hint of lemon).

1 ¼ c hot milk
1 t vanilla extract (Nomu makes a good one)
150g unsalted butter
4 eggs
2 c castor sugar
2 ¼ c white spelt flour
2 ¼ t baking powder
1 punnet fresh raspberries (or berries of your choice)

makes about 40 small squares.

Preheat the oven to 180°C. Grease and line a 33/23cm cake or roasting tin with baking paper (this is vital with such a large cake, you don’t want it sticking anywhere). Heat the milk, vanilla and butter together to just below boiling point. Remove from the heat and set it aside. Break the eggs into a large bowl and add the sugar. Whisk the eggs with an electric beater until they are pale and fluffy. Sieve the flour and baking powder together and carefully add to the batter, mixing on low until smooth. Add the milk mixture, still mixing, until smooth again. Do not worry (I did) if the batter looks very thin, it will work! Pour the batter into the prepared tin, do not worry (I did) if it is close to the rim, it won’t overflow while baking. Place in the oven and bake for 30-40 minutes. If you have an oven with a fan, it will be more on the 30 minute side, if not, then more to 40 minutes. Once a skewer inserted into the middle comes out clean, it’s done. Remove from the oven and cool on a rack. 


Cream cheese and lemon icing

1 X 250g block cream cheese
50g butter
1 c sifted icing sugar
2 t vanilla extract
zest of 1 lemon

Pop the cream cheese and butter into a bowl and beat with an electric beater on high until creamy and wellcombined. Tip in the icing sugar, vanilla and lemon zest and beat for another few minutes until beautifully creamy. Spread the icing evenly over the cooled cake. Cut the cake into squares and dot over the raspberries.


  P.S. I used washi tape to make the flags and bunting ;)


Plum, cranberry and red wine chutney


This chutney is super easy to make, and pretty much flop proof. You can use any fruit you have in abundance. Perhaps just taste and test the amount of sugar and vinegar you made need, because this will vary from fruit to fruit.


-->
Plum, cranberry and caramelised onion chutney

3 large red onions, sliced
olive oil
1 kg ripe ruby plums
6 cm piece of ginger peeled and cut into matchsticks
100g dried cranberries
3-4 whole bird's eye chillies
½ c red wine
1 c red wine vinegar
1 c agave sugar (or regular sugar if you prefer)
1 T five spice powder

makes about 1L of chutney

Fry the onions in a little oil until they become soft, caramelised and fragrant. Tip in the chopped plums and all the other remaining ingredients. Heat the mixture gently until all the sugar has dissolved. Bring to a gentle boil and cook until the liquid has reduced and reached a chutney like consistency (this will vary with the size of your pot and how juicy your plums are). Ladle the mixture into sterilised jars and seal.


This chutney loves… burgers, sarmies, crackers, old cheeses and young cheeses, charcuterie, red wine, sausages, pies and so much more…


Monday 11 February 2013

banana-nah!


This ain’t no cheap tart! It’s ingredients are mostly from the health shops and, where possible, organic. Neither is it low fat. It is in fact… CALORIFIC! But that said, it is incredibly delicious, packed with an insane amount of anti-oxidants (mostly from oodles of raw cacao) and is completely vegan, raw and free of anything that didn’t once grow on a tree. The other upside is - it doesn’t require any cooking… just a few flicks of most of your kitchen appliances' switches!


Give it a whirl, it won’t disappoint, I think it may in fact, amaze.


Raw chocolate, coconut and banana tart

Crust:
100g pitted dates, soaked in a little warm water
150g nuts (50g each) cashews, pecans & almonds
50g coconut flakes
50g melted raw cacao butter
5ml cinnamon
5ml vanilla powder

Filling:
100g dates, soaked
6 medium bananas
75g cacao butter
100g coconut oil
½ c raw cacao powder
1 t vanilla powder or essence

creamy topping:
1 can coconut cream
1 t vanilla powder

makes one 28cm tart


To make the crust. Soak the dates in a little warm water to soften them and then squeeze to remove any excess water. Place the dates, nuts, coconut, vanilla and cinnamon in a food processor with an “S” blade and pulse until it reaches a crumb-like consistency. Pour in the melted cacao butter while the motor is running, so that it blends in. It is important to line the bottom of a loose bottom quiche tin with baking paper. Grease it first, because this helps the paper to stick. Once lined, spoon in the crumbs and gently coax them into a tart-shell shape with the back of a spoon. It should be just under ½ cm thick all over. Place it in the freezer to let it set fast.


The filling:
Once again squeeze the dates to remove excess water and place in a liquidizer. Add 3 bananas and whiz until smooth. Add the melted coconut oil and cacao butter and continue to whiz. It should be super-smooth and silky. Add the vanilla and the cacao powder. Taste. Add more cacao if you like it really strong. Spoon half the mixture over the base and spread.


Top with sliced bananas. Gently spoon and spread the remaining filling over the bananas. Pop it in the fridge to set for 20-30 minutes or until it feels firm to the finger.


Topping: Place the can of coconut cream in the fridge to set the cream. Once it’s chilled, carefully scoop off the cream and place it in a large bowl. You can chuck the coconut water or save it to add to a curry, or something like that. Add a little vanilla powder and whisk the cream with an electric beater or, if you are lucky enough, a Kitchen Aid like whisk until it looks fluffy. Swirl it over the top of your tart and voila!


You have a magnificent raw tart, raging with anti-oxidants, and a million other things that are good for you! 

 
For great raw products such as raw cacao and cacao butter I love to use Trace the Taste from Harrewyn Organics available from the online organic shop faithful to nature and selected health shops and supermarkets like PnP


Thursday 7 February 2013

sesame crusted fish cakes

Here is another quick week night recipe. Now I'm not a big advocate of frozen fish, but if you have some, this is the type of recipe to use it in. It's pretty low in fat and completely gluten free. 

-->
Recipe:

1 onion, finely chopped
3 fat cloves garlic, finely chopped
1 chilli, chopped
knob of ginger, finely chopped
canola oil
About 500g hake (or other sustainable fish)
250g fine green beans, finely sliced
handful of coriander, roughly chopped
1/2 packet ground almonds (almond flour)
1 egg white
zest and juice of 1-2 limes
1-2 tsp sesame oil
salt and pepper
sesame seeds for crust

easy peasy week night sauce:
3 tbsp mayo
3 tsbp plain yoghurt
3 tbsp real thai sweet chilli sauce
lime zest and juice to taste
extra chopped chilli (if you like)

Fry the onion, garlic, ginger and chilli until it begins to soften then tip onto dinner plate to cool down quickly. Once cooled, mix all the remaining ingredients together and season well.
Shape into fish cakes (wetting your hands slightly helps). Scatter a layer of sesame seeds onto a plate and press the fish cakes into the seeds, pat gently to encourage the seeds to stick. If your fish cakes are feeling a tad soft, place them in the fridge for 30 minutes so they firm up a little. Fry the fish cakes in a little oil until they are golden and cooked through. Mix the dipping sauce together and serve with fish cakes, scattered with coriander and perhaps some lime wedges.


The good egg

-->


Everyone who knows me, knows I love eggs. I love them more than I love most things. They would be my last supper. Simple and fried, and on good and crusty buttered toast.

-->
The secret to boiling eggs (and God knows this has taken me most of my life to figure out) boils down (pardon the pun) to 3 things…

1. Make sure your eggs are at room temperature (in winter let them steep in a little warm tap water for a minute or two) or they will crack.
2. Make sure your water is boiling.
3. Timing is everything.


For a regular extra large egg I time as follows:

Extra dippy - 4 minutes
Dippy - 4 ½
Edges of yolk set – 5
Bounce-able - 6 (arrgh)


-->
Recipe:

1 coil free-range chicken sausage
olive oil
few sprigs of thyme and rosemary
sea salt and pepper
4 good eggs (free range for sure but organic is tops)

2 hungry people or 4 less hungry.

Preheat the oven to max. Get a small saucepan of water on the go. Gently twist the sausage into short 4-5 cm links. Toss the sausages on a non-stick baking tray with a little olive oil, torn herbs, salt and a twist of pepper. Roast for 10-12 minutes or until golden and cooked through. Keep warm while you quickly boil your eggs. Cook eggs the way you like them (for obvious reasons they should be dippy, me thinks). Slice the tops of the eggs with a small serrated knife. Cradle them in egg cups and serve with sausage soldiers.